Hook Keeper For Fly Tying Vise
I always have trouble picking up small hooks off my fly tying table. With fat finger, I try sliding them off the edge of the table, or pushing down on them hard and hoping they stick to my fingertip. If you are like me, you find that none of these ways work very well. Your carpet will become riddled with sharp, barbed, flesh piercing hooks just waiting for your bare feet to pick them up in a very uncomfortable way. What could be even worse is your kid or dog getting one stuck in their feet or even swallowed. There is not a man on earth that wants to hear the wrath from their wife while at the hospital getting surgery for your two year olds swallowed hook.
I searched around for the best ways to keep hooks safe. I had found many ways suggested by people. Some people suggest grabbing them individually from the packs. I personally find that to be cumbersome and time consuming, but safe none the less. Others suggest a small concaved bowl that you can grab the hooks from easily. Well that works well, however it can take up some precious real-estate on your fly tying table. One way I found though seemed to work the best. It takes up less space as a concaved dish or bowl, its quick to grab the hooks, and is very convenient. This is to add a magnet on your fly vise’s pedestal base, or somewhere on the table if you are using a clamp vise.
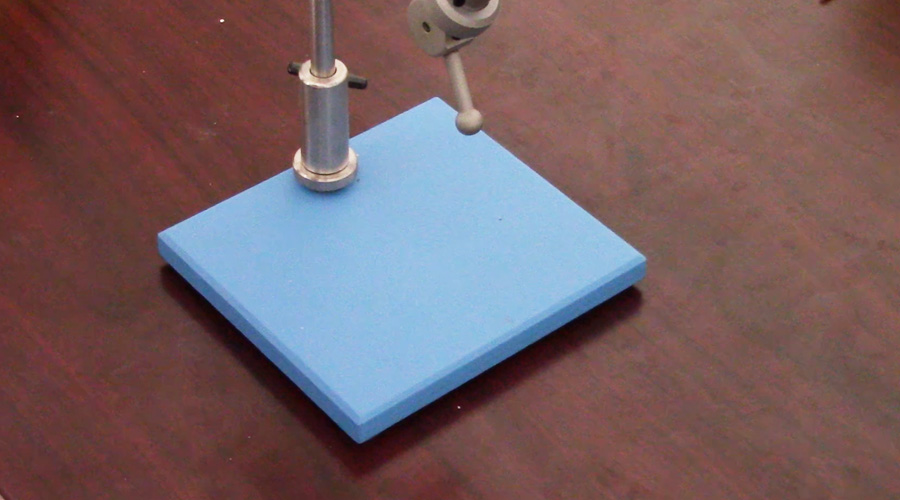
As you can see I will be basing this tutorial on a pedestal base vise. But you can use these same techniques for installing on your desk or fly station.
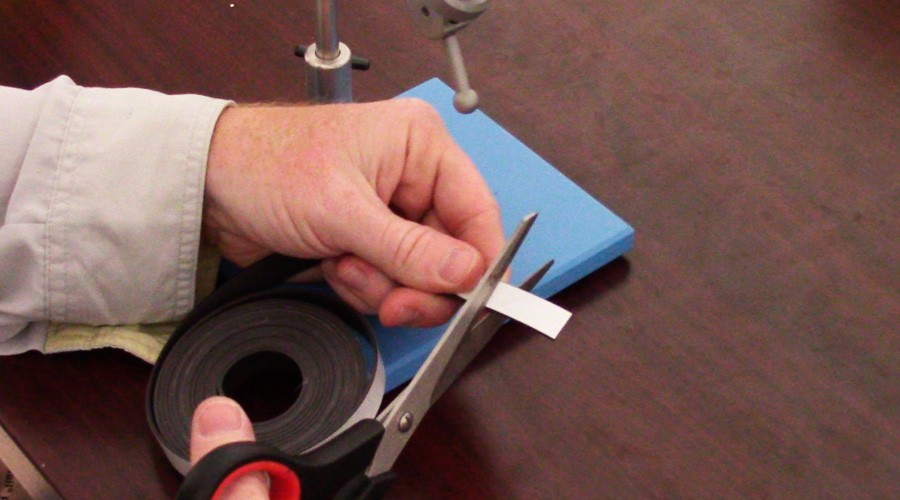
We will start by cutting a small strip of magnet tape. You can buy a roll for around $5 at your local home improvement, and you will not need to use very much. You can then use the rest of this roll to put some magnets on your fly boxes to help you out on the river. I will be making a tutorial on that also, so keep checking back.
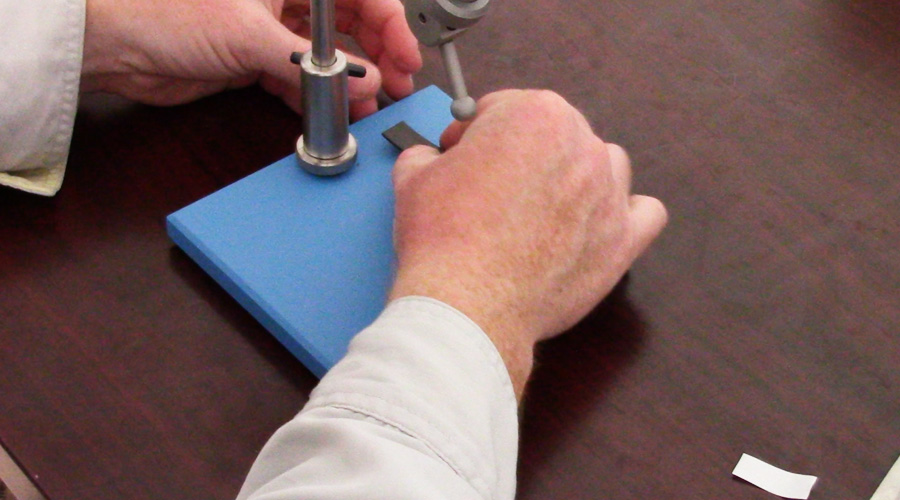
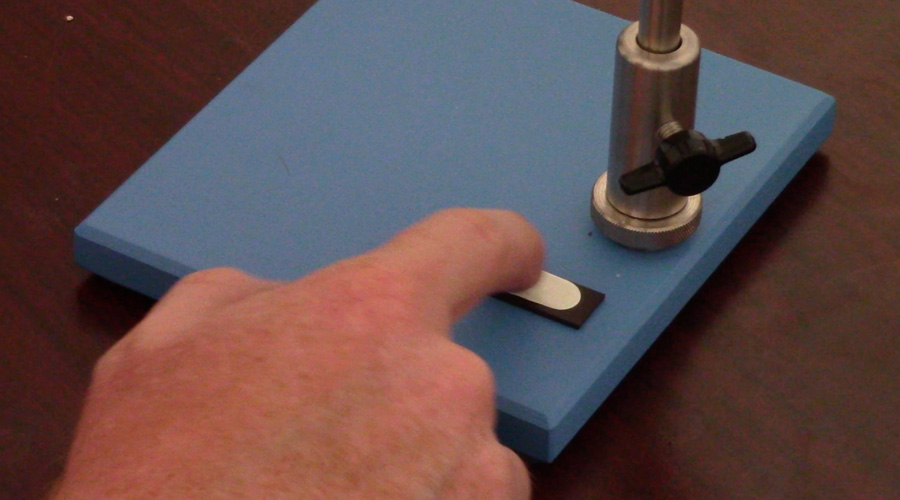
You will peal off the back and place the magnet on the vise sticky side down. If you are a bit OCD like me, you will probably spend time on making sure its even and placed in just the right spot.
Once in the right spot, make sure and push both sides down firmly. Because the magnets come in a roll, they want to lift on both sides. I find pushing the sides down firmly is extremely important. However sometimes this isn’t enough, if not you might need to add some epoxy or UV resin on either side to hold it down.
These magnets are black, and therefore its difficult to see the hooks on the magnet. I remedied this by painting the top with some light colored paint. You are in luck if you recently repainted your house and have some left over paint. But if not, check your local home improvement store for some discount paint. They always have cheap “sample” sized paints available. Or if you are lucky, you could find some light color paint that was a color mistake. I bought my small paint sample for only $0.50.
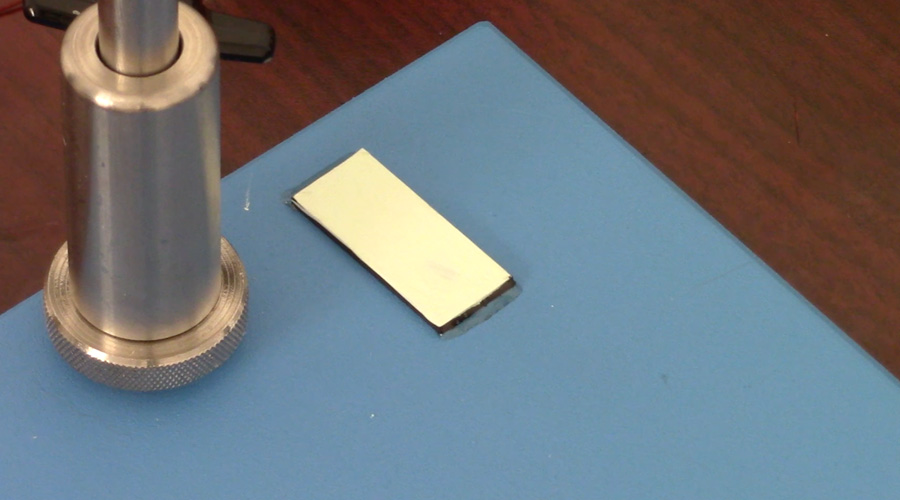
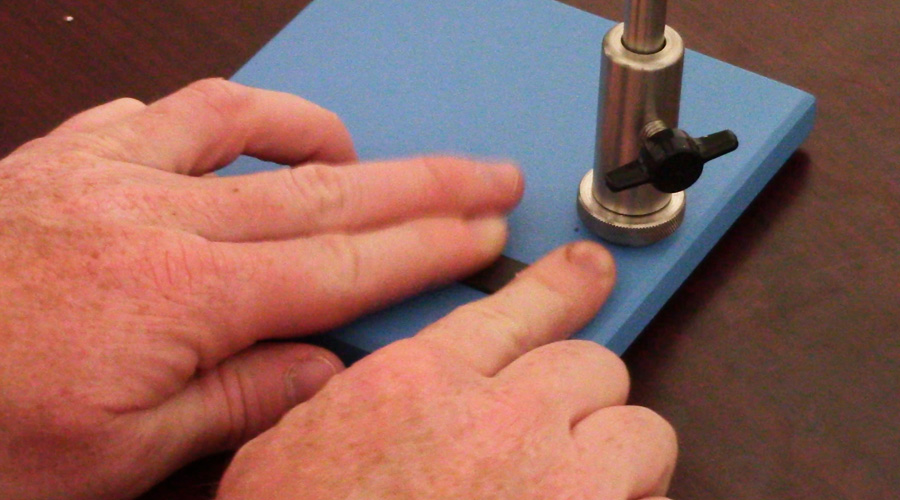
Here you can see that I have epoxied the sides and painted the top. Its rather nice looking, and when put on the far side of the base, it does not get in the way.
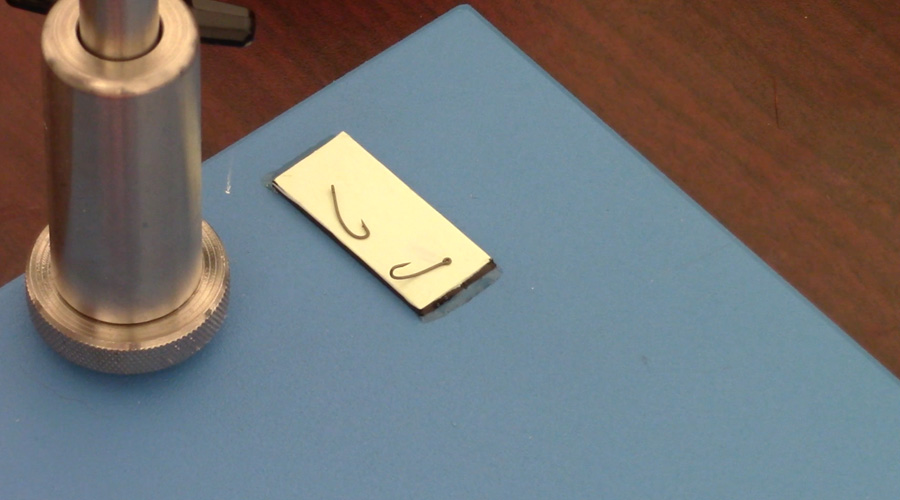
Here I have some hooks on the magnet. It sits up higher than the vise base, and allows you to simply slide them off the magnet and easily pick them up. The nice thing is, if you use UV resin, its easy to clean off if you decide to remove it.